You are using the member interface.
Log out of the member interface →Currently, the "Learning City" uses the Luma platform to optimize interaction between hosts and registrants. This platform allows attendees to share more about their specific needs for each activity, helping hosts review participant information carefully and tailor their activities accordingly.
Luma also empowers hosts to customize their registration forms. Key features include:
Below are the basic instructions for hosts.
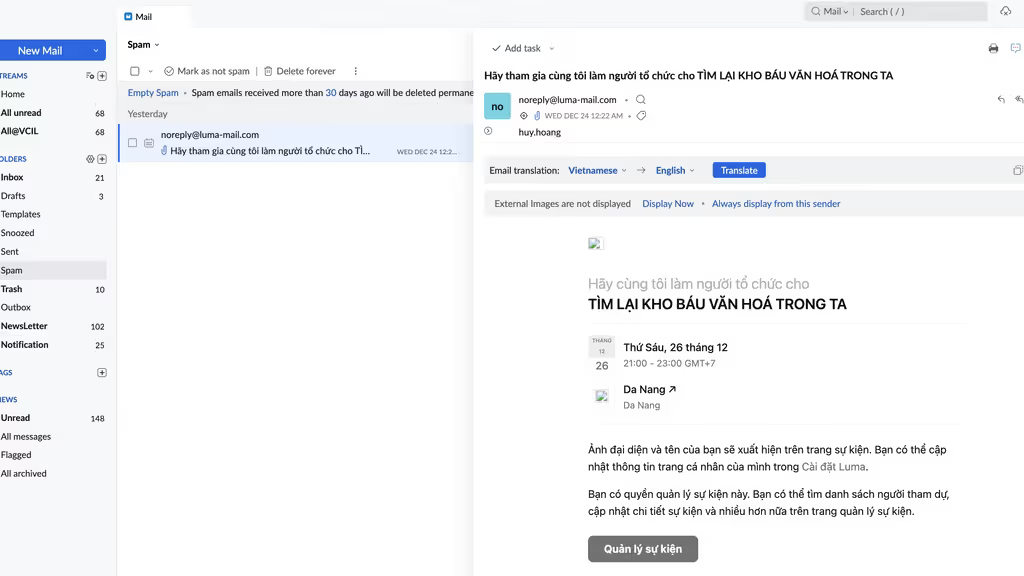
After registering as a host, we will send an invitation to join the hosting platform via email. This is the email you will receive with the information: “Vcil Community - Please join me as a host for “ACTIVITY NAME”.
However, some host invitations may automatically be included in the “Spam” category. Please check the spam/spam section to accept the invitation. Upon access, you will receive information similar to the one shown with the address noreply@luma-mail.com.
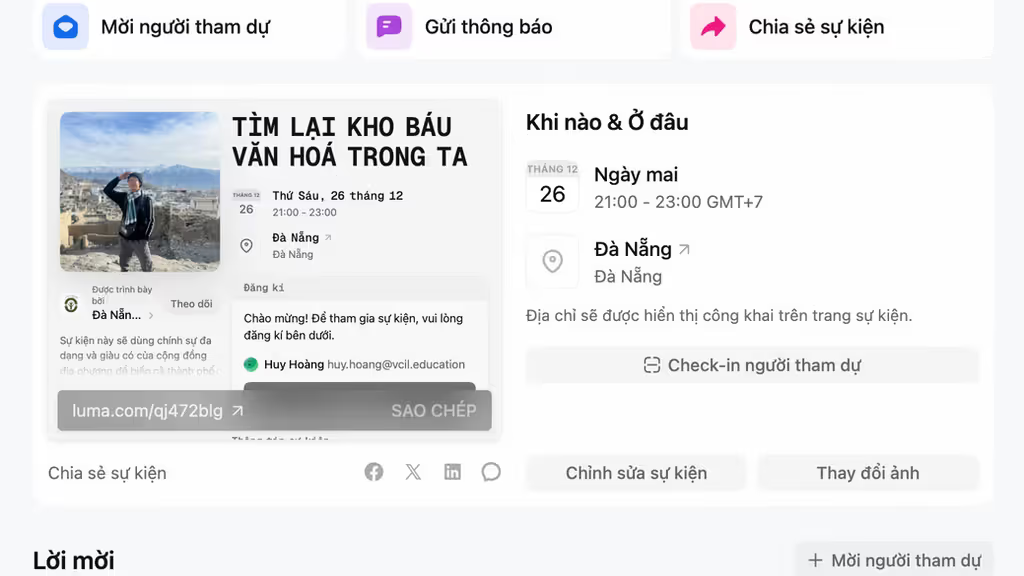
After accepting the invitation, you will see an interface as shown below with the items “Overview”, “Attendees”, “Registration”,...
Click “Attendees”, you will have full information of new subscribers.

Click on each person's name to see their answers and information.
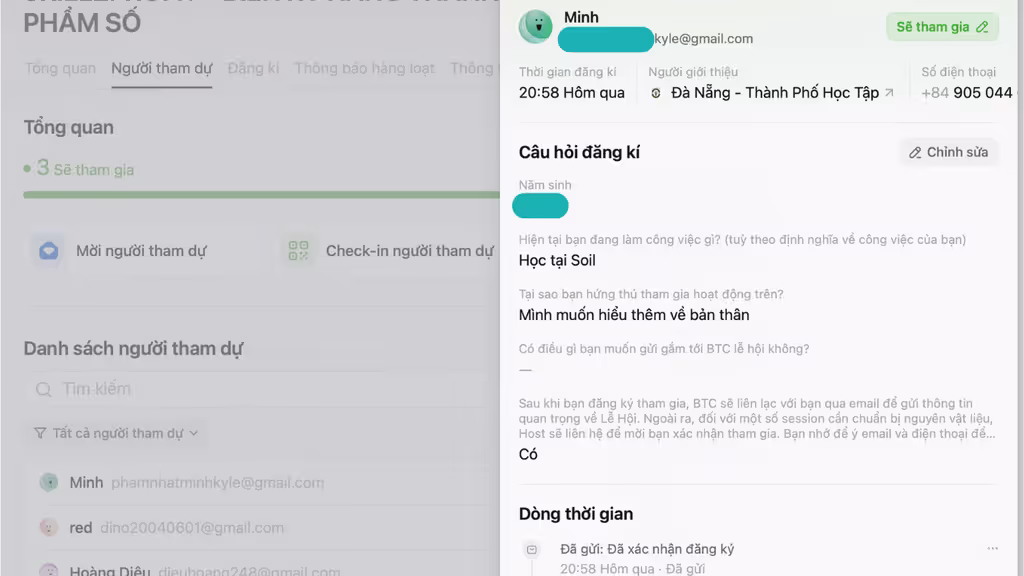
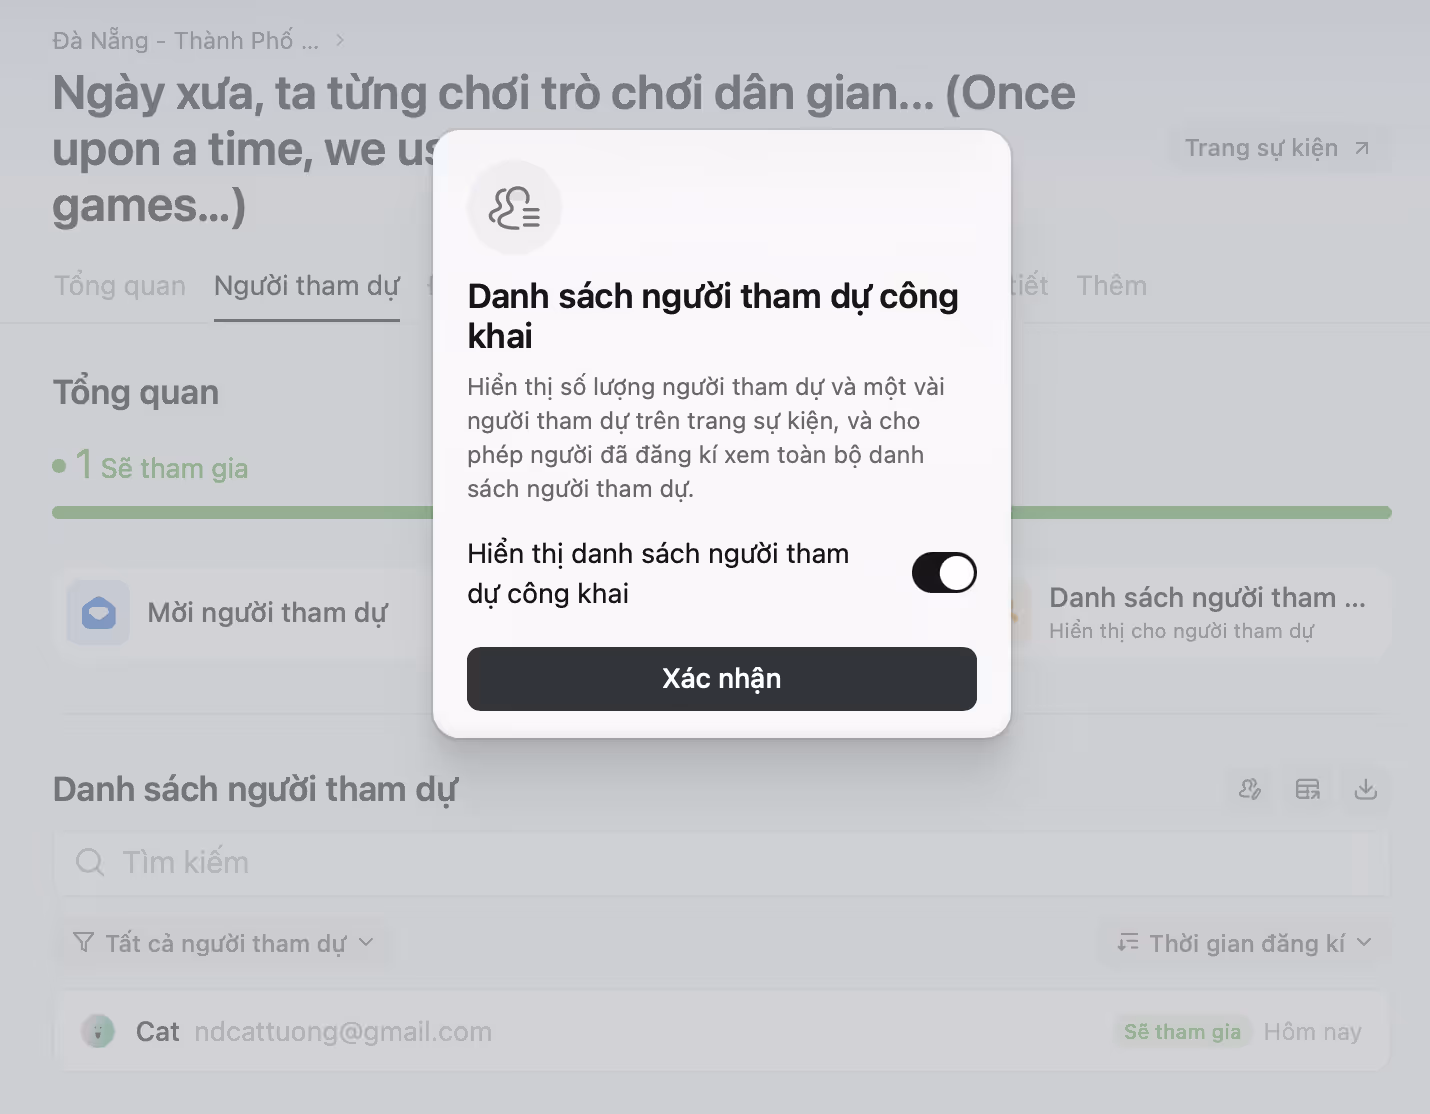
Click Attendee List to turn on/off the public list of attendees
This is where you design Applicationown and interaction with subscribers.
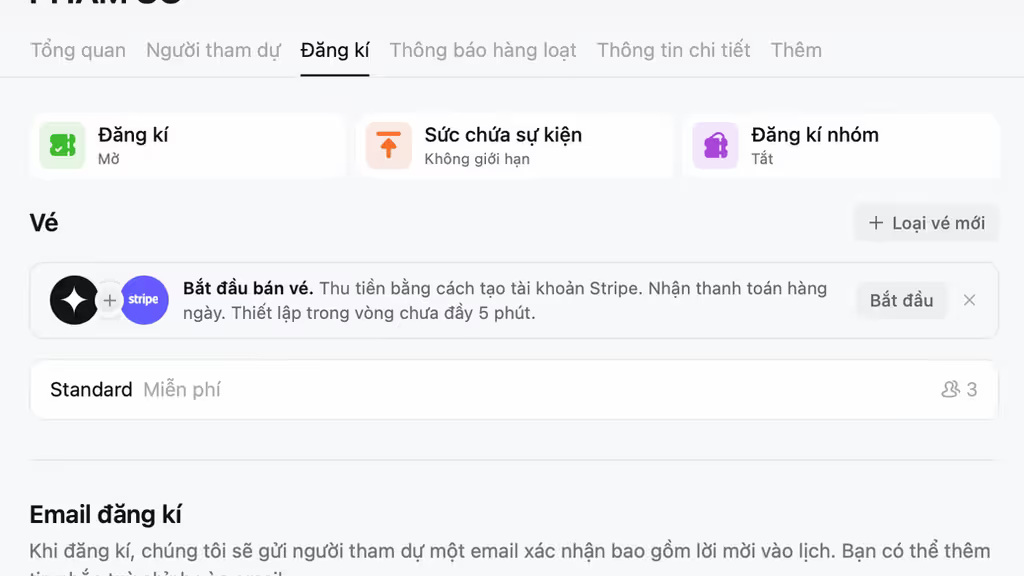
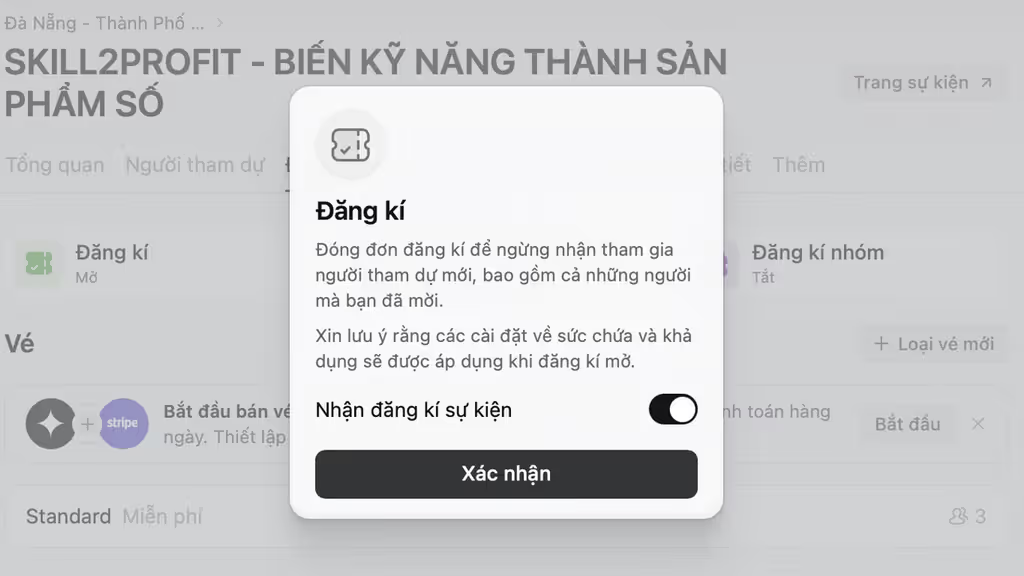
Click on the Registration section, you will be proactive in receiving subscribers or not.
Click on the “Event Capacity” section to set the maximum number of attendees for your activity.

Click on the “Invitation ticket type” section to adjust the moderation and approval of subscribers.

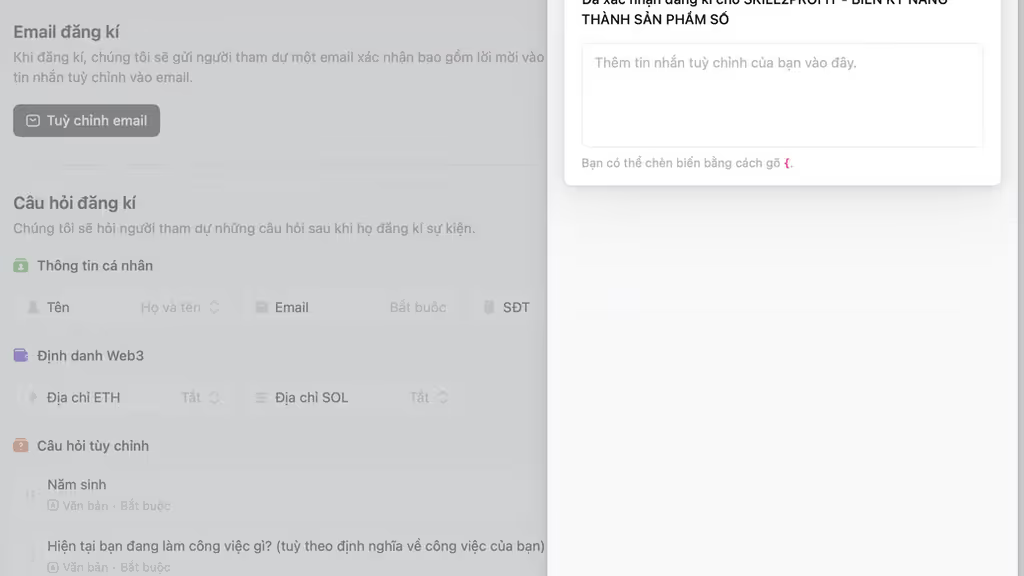
In the “Registration email” section, you can customize the message sent to subscribers.
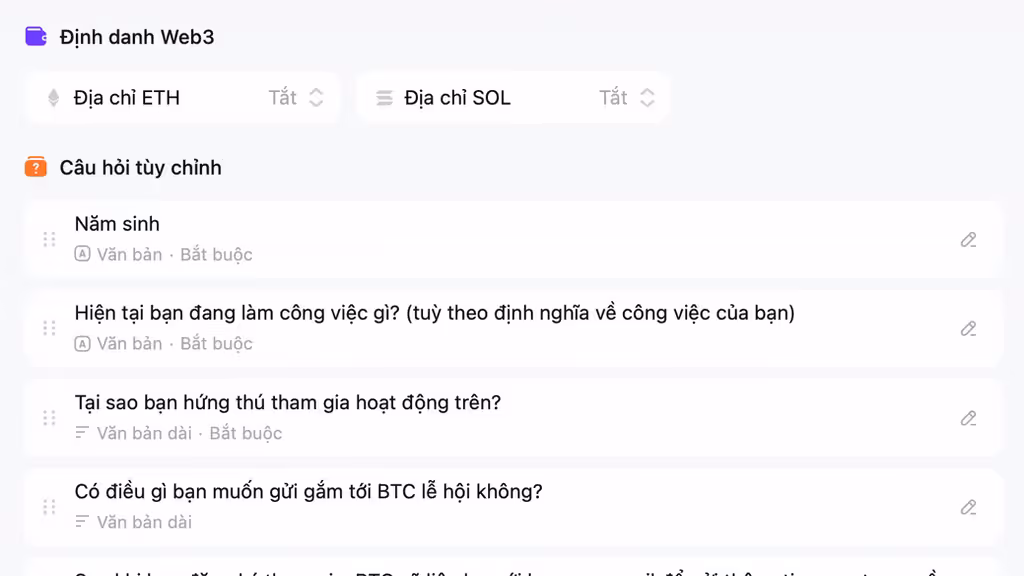
You can customize the questions according to your personal needs by dragging down and clicking Add Questions.
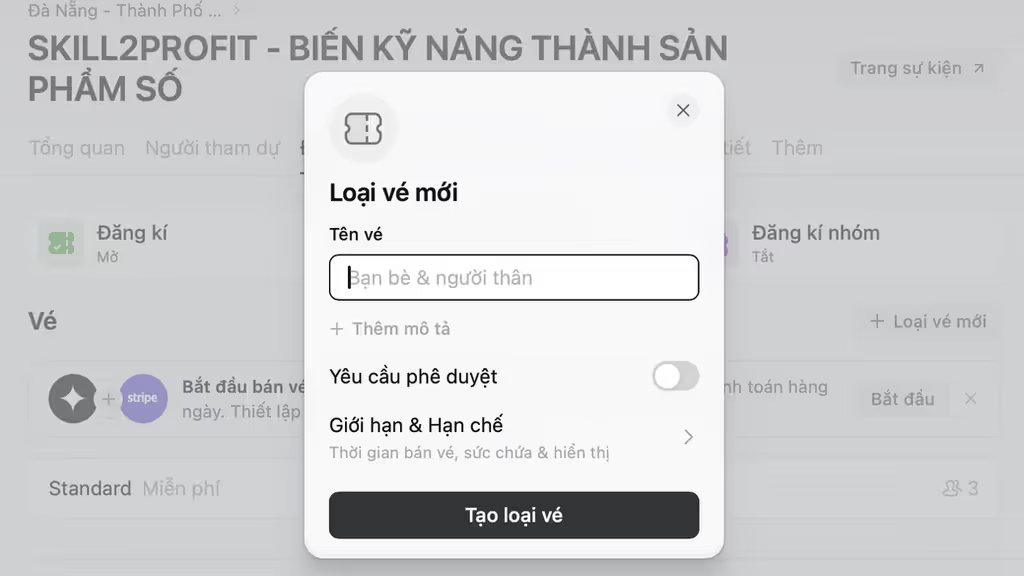
In the ticket section, click on the Standard section, then click on the next section retouching
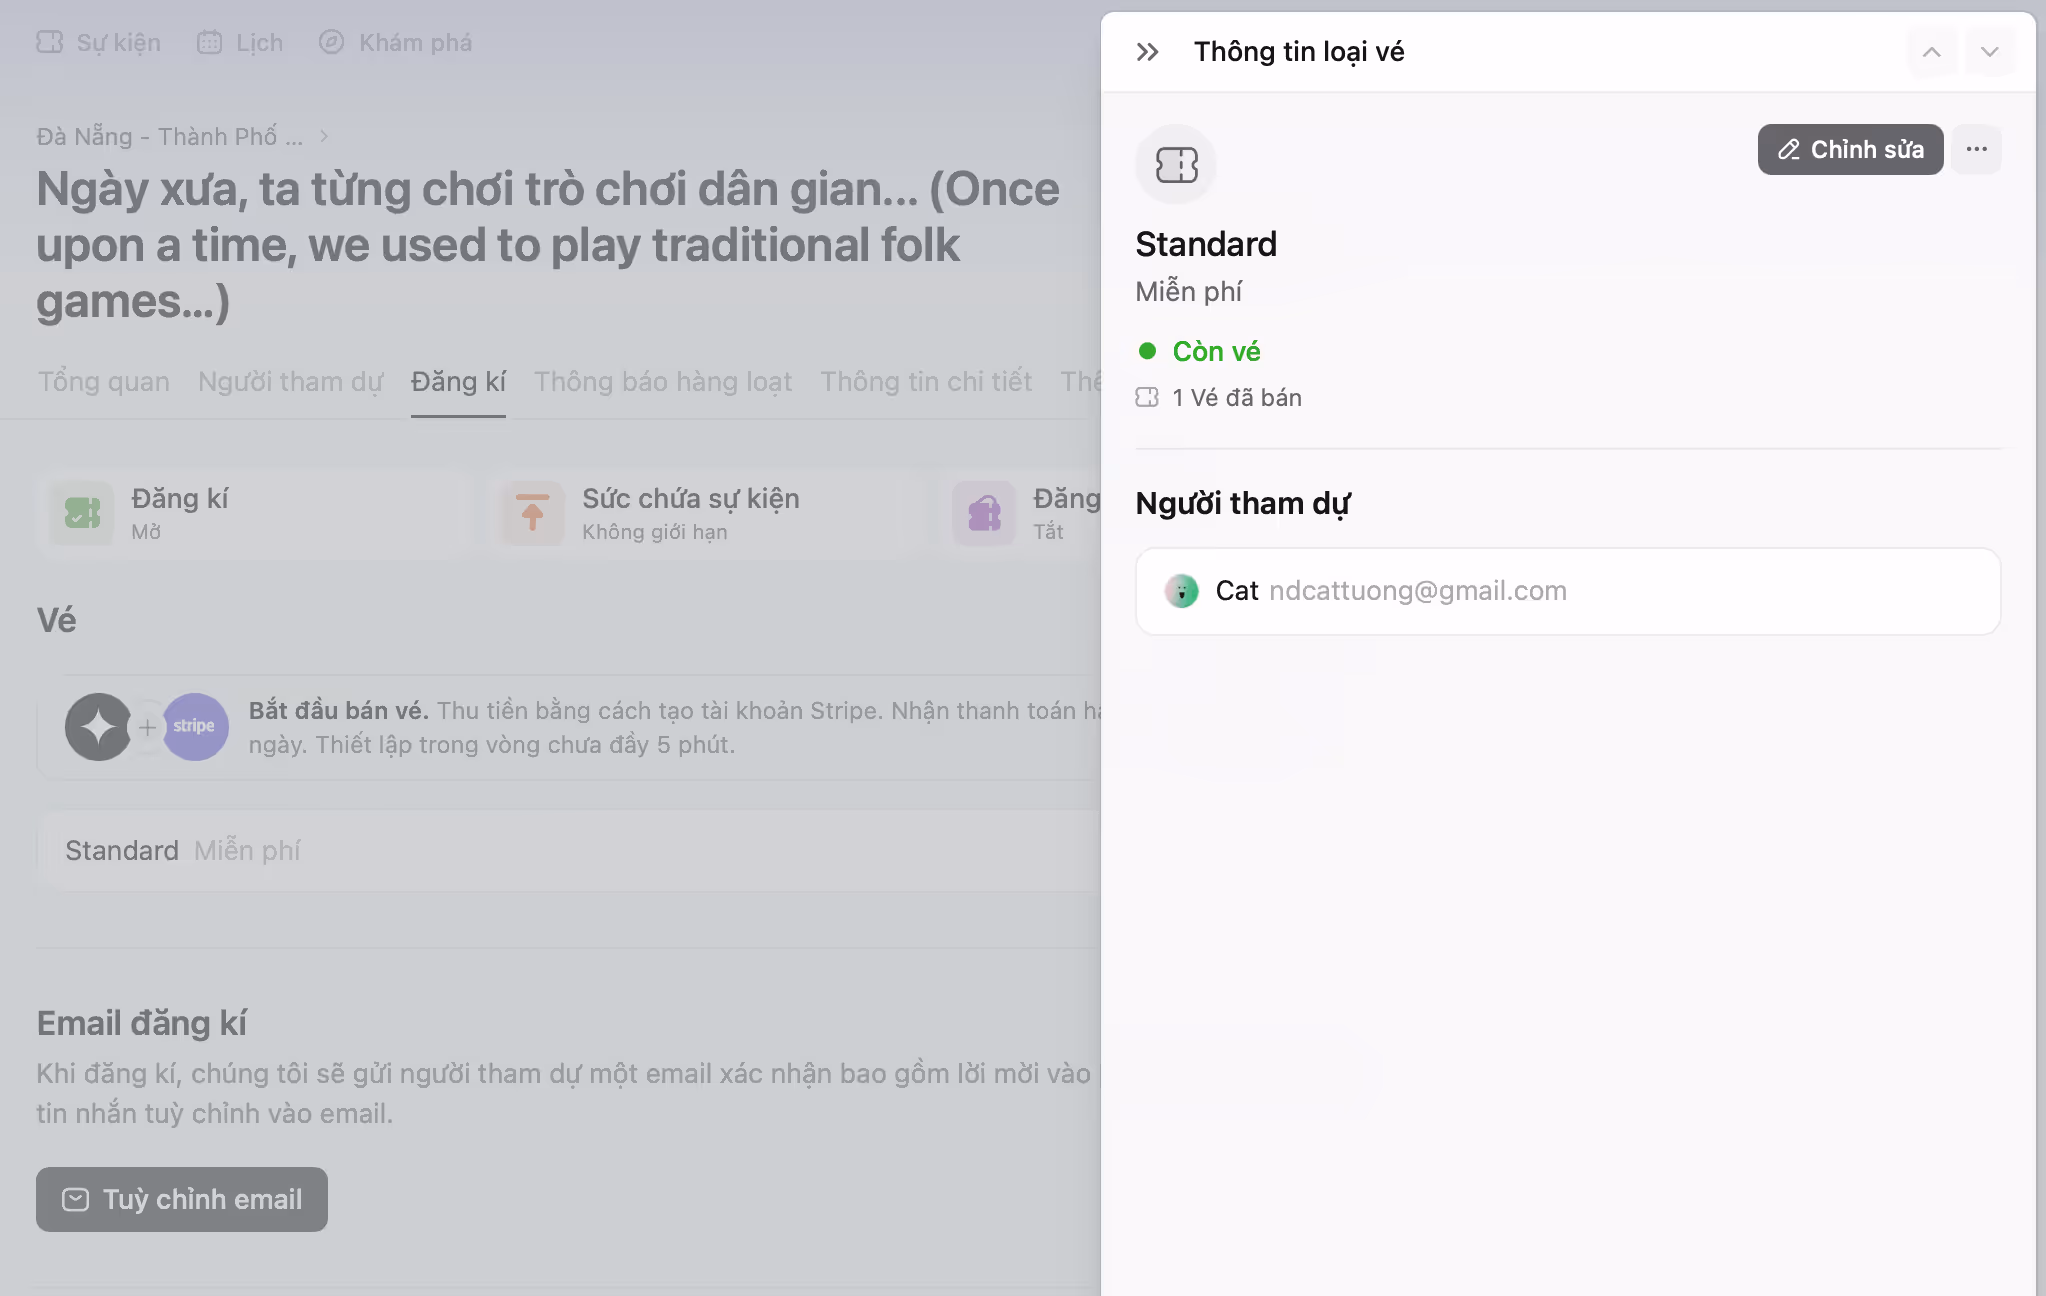
You will see the dialog box below. Select the “Limits & Restrictions” extension
Select the time you want to open ticket sales to hide the registration button to the desired deadline!

Thank you for your support and participation in this event! See you at “Da Nang - City of Learning”!
This event will use the diversity and wealth of the community to transform the city into a Festival of Learning